Showing posts with label art studio. Show all posts

Wednesday, March 2, 2016

Layers apon layers

Have always loved the look of encaustic wax on canvas. The idea of secret layers being built up with only snippets from previous layers peeking through. Some of these art works can look almost ethereal.
I have over the years used similar methods of semi - transparent layers using acrylic paint. Placing washes of paint over dried layers then wiping off to leave just a hint of what came before.
When you let go - Julie Smith (mixed media on canvas)
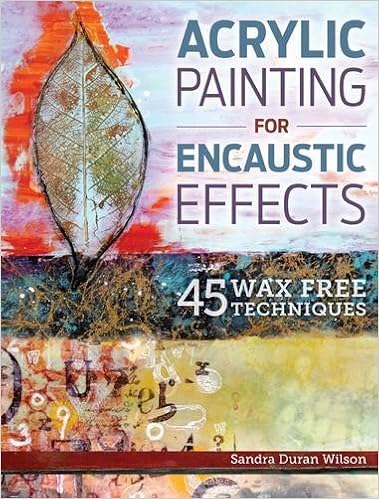
 But then I came across the book below. ( I receive no income from this link)


Encaustic effect using acrylic
And found wonderful ides for building up layers using acrylic mediums to create a wax like effect. Yay! No fumes!

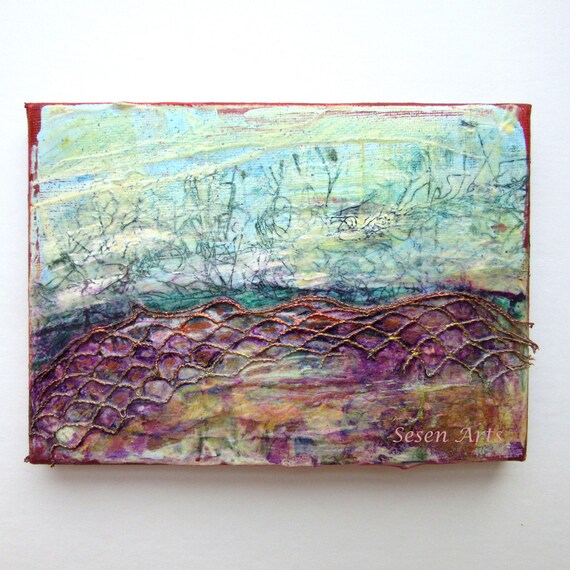
Well, I had a wonderful old time! Lots and lots of layers - about 8 in all then finished with pencil and Posca pens just for a little depth.
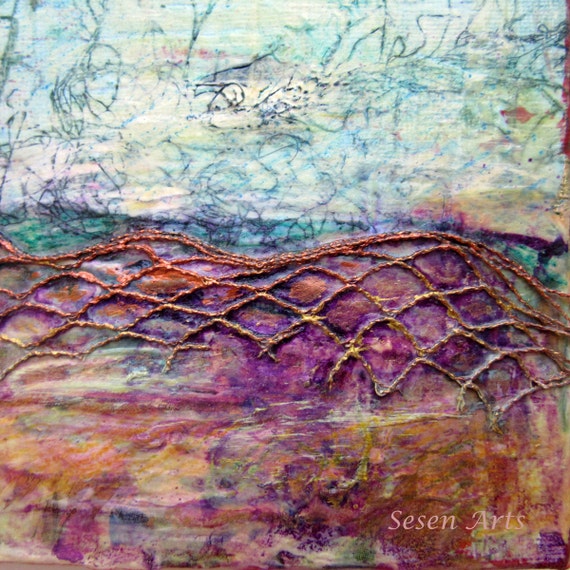
Acrylic mixed media on canvas

And then found a little easel. So cute.


Abstract landscape 1
I'm very pleased with how this turned out and the brain is ticking over with more ideas. So many ideas, so few day light hours!

Wednesday, January 13, 2016

My Big News. And other smaller events.

Sesen Textile and Mixed Media Art Studio

Drum roll please.........
I am incorporating a gallery into my studio! Yes! I am so excited!
Having been involved with little co-ops and had scarves and paintings in other peoples exhibitions or galleries for a number of years, there has been this little voice whispering that I could do this in my own space.
So when we were designing our house, I made sure that my studio would be big enough to include a little section for the public to drop in and check out what I make and how I make it!

But of course life gets in the way and the past two years had been taken up with building our new house and making it a home and I had been caught in the rut of producing same ol', same ol' for the on-line stores. Well, it was easy. People like what I created and it helped pay its way. But in the meantime my studio was becoming an embarrassment and I didn't like inviting people in.

So there I was deciding that enough was enough with the mess and disorganization that was my work space. Something had to be done because I had become lost. I felt like I was achieving nothing and going nowhere. ( mid life crisis/ menopausal hissy fit?).

Mixed media cards and canvasses

 
By the end of December a lot of stuff was thrown out and generally made tidy, when a little door in my head opened and said. "Remember Julie? Remember that you wanted  to invite people in? Well now you have the room!"

Hand painted silk scarves


So my little gallery has become a work in process.
And little section it is too! Only 3.3m square (11").
My wonderful hubby (extraordinaire)built a sectional wall for me to hang paintings up and we put together a shelf for bits and bobs.
I have approached a local artists collaborative to be included in their open studio map and approached the council for zoning to be told that  because I only have a little space and will be open by appointment rather than full time no zoning was needed on their part (yeeha!).

Silk and Cotton Nuno Felted Scarves


So now I need to design a sign for the verge and need to create wall art and other yummy things! I'm thinking I'm about 4 weeks away.
So wish me luck on this next stage of my artistic life!

Thursday, November 26, 2015

Studio Makeover Part 1 Office Chair

Time to get started! Enough talk! Time for ACTION!

And as mentioned in my Studio Makeover post, I decided that my hideously messy office desk was first on the list!

Where to start? Really, truly, my desk was a scary place! So a  good a place as any to start was the chair. (because I was too scared to tackle the desk just yet!)

Old and very sad office chair awaiting a makeover.

She has served me well for near on 10 years, and was a 'little' worse for wear. Screws loose (just like her owner), faded and dirty cover. Just very sad really.


Re -covered (in more ways than one) office chair.
It was rather simple really. Unscrew the back and seat pads and gently remove them from the surrounding plastic shell. If the chair has an upholstered back, prise the back off with a screwdriver.

Take note of how the chair was previously covered and cut your new fabric to the same size as the seat and back pads, allowing at least 3 - 4" extra for overhang.

Place the pads face down on the wrong side of the fabric and start going crazy with a staple gun!
Start with a few staples at the top, stretch the fabric at the bottom then staple there. Carry on from side to side, corner to corner. Stretching the fabric as you go. I'm tellin' ya. You cannot have enough staples!

Replace the pads and there you have it.

Handy hint - if using a print, make sure that the fabric is running the same way for back rest and seat. Not like mine which is upside down on the back rest. Dah!

But now I feel like a princess when I sit down in my chair!